
You probably know by now that iTunes 12.7 brings some notable changes like the removal of the App Store from iTunes, requiring users to mana...
You probably know by now that iTunes 12.7 brings some notable changes like the removal of the App Store from iTunes, requiring users to manage and install iOS apps directly on an iPhone or iPad without iTunes on a computer. Similarly, the ringtone and Tones section has also changed in the latest iTunes releases, which some users may find confusing when they go to adjust ringtones on their devices.

Although users might find it confusing for the first time, you can still copy and transfer ringtones over to an iPhone or iPad with iTunes 12.7, and the process is quite simple and once you get the hang of it, you shouldn’t have any issues transferring ringtones in the future. In this tutorial, we’ll show you how to transfer ringtones from your computer to iPhone using iTunes 12.7 or later

As you can see, copying ringtones to an iOS device with iTunes is still quite easy. Another option that doesn’t use iTunes at all is to create ringtones on the iPhone or iPad directly in Garageband, which can be done entirely on the iOS device and never requires any kind of sync or copy since the ringtone .m4r files are created and then kept on the device itself.
Via OSX Daily And iPhone Hacks, Image Via OSX Daily, Apple World Today, And iPhone Hacks

Although users might find it confusing for the first time, you can still copy and transfer ringtones over to an iPhone or iPad with iTunes 12.7, and the process is quite simple and once you get the hang of it, you shouldn’t have any issues transferring ringtones in the future. In this tutorial, we’ll show you how to transfer ringtones from your computer to iPhone using iTunes 12.7 or later
- Open iTunes on the computer if you have not done so already.
- Be sure the iPhone is connected to the computer (via wi-fi or USB) and identified in iTunes
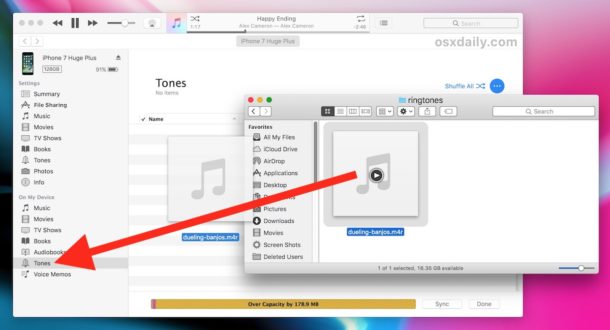
- Select the device in iTunes.
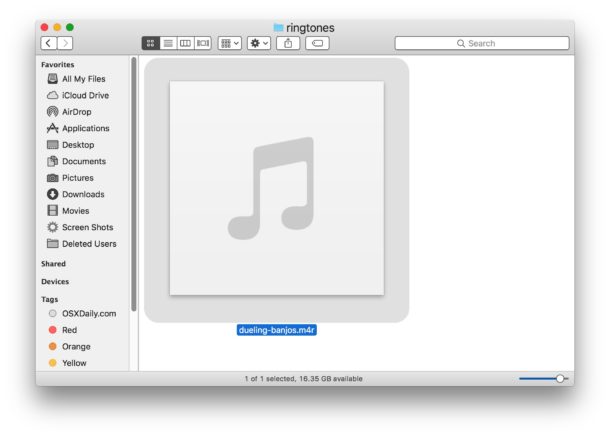
- From the Finder on the Mac, locate the .m4r ringtone file you want to copy to the iPhone or iPad

- Drag and drop the ringtone .m4r file into the “On My Device” section of iTunes to copy the ringtone or tone file over to the iDevice.

- A new “Tones” section will appear if it’s not already visible showing the ringtones on the device, repeat with other tones and ringtones in m4r format as desired
Via OSX Daily And iPhone Hacks, Image Via OSX Daily, Apple World Today, And iPhone Hacks


COMMENTS